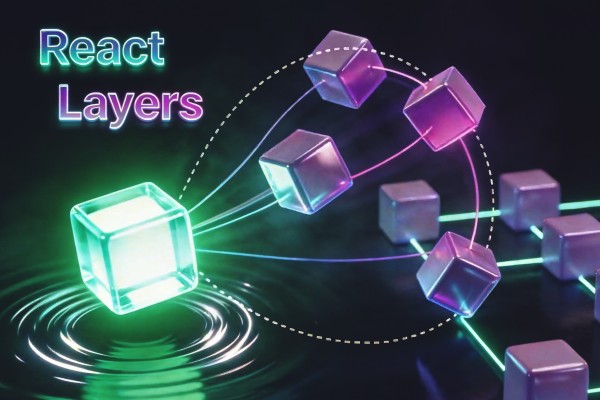
React Layers
Make layers react to each other — weave apart, repel/attract, follow with delay, scatter outward, or transform inside a zone field. Expression-based, fully controllable.
Overview
React Layers lets layers dynamically react to a driver layer — weave apart, repel or attract, follow with delay, scatter outward, or transform inside a zone field.
Everything is expression-based and fully controllable. Once applied, you simply animate the driver and all follower layers respond automatically.
---
Features
Interaction Modes (5)
- Weave — Split layers apart as the driver passes through
- Repel / Magnet — Push or pull layers within a radius
- Field — Transform layers inside a circular zone
- Follow — Trail the driver with delayed motion
- Scatter — Burst layers outward from center points
Core System
- Driver / Follower expression system (non-destructive)
- Real-time reaction to driver animation
- Per-property control: Position, Rotation, Scale, Opacity
- Field effects: Blur, Tint, Invert
- Follow extras: Reverse order, Random order, Ease curve
- Fine control via Effect Controls on the driver layer
- Universal (works in all After Effects languages)
Optional Tools
- Guide — Creates a visual guide shape (circle, arrows, dots)
- Trim Layer — Duplicates followers from current time
- Parent Group — Groups followers under a null parent
---
How to Use
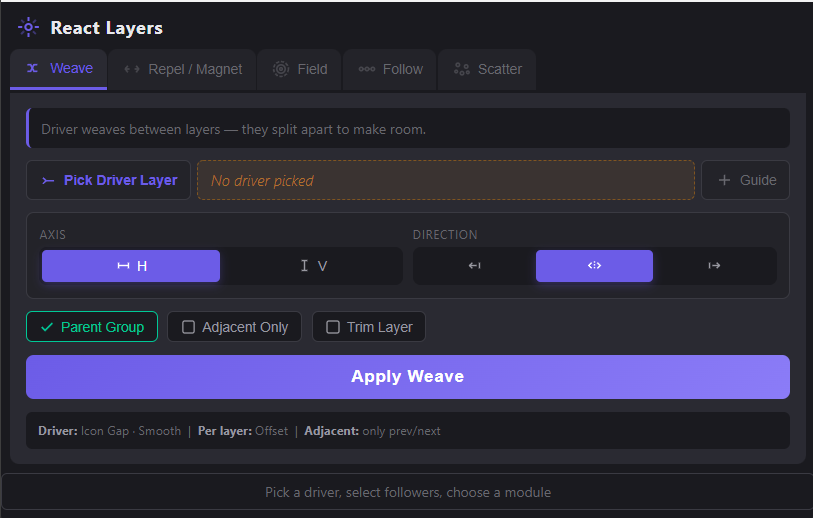
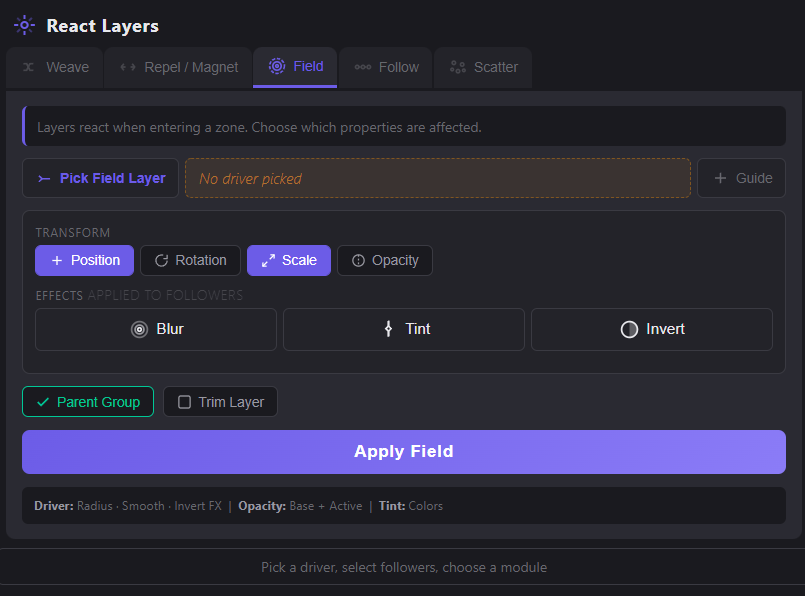
1. Choose a Mode tab: Weave / Repel-Magnet / Field / Follow / Scatter
2. Click Pick Driver, then select the driver layer in After Effects.
3. Select your follower layers in the timeline.
4. Adjust options depending on the mode: - Axis & Direction (Weave) - Properties: Position / Rotation / Scale / Opacity - Effects: Blur / Tint / Invert (Field)
5. Click Apply — expressions are added to followers.
6. Animate the driver layer — followers react automatically.
7. Fine-tune using the driver’s Effect Controls: - Weave: Offset · Falloff · Range - Repel / Magnet: Radius · Strength · Smooth - Field: Radius · Smooth · Push X/Y/Z · Blur · Tint - Follow: Delay · Reverse · Random · Ease - Scatter: Radius · Amount · Randomness · Smooth
---
Modes
Weave
The driver passes between layers and they split apart to make room. Choose horizontal or vertical axis and set split direction.Controls: Offset · Falloff · Range
Repel / Magnet
Layers are pushed away from (Repel) or pulled toward (Magnet) the driver within a radius. Smooth falloff creates natural motion.Controls: Radius · Strength · Smooth
Field
Layers inside a circular zone get transformed.- Transform: Position / Rotation / Scale / Opacity
- Effects: Blur (Gaussian), Tint (color controls), Invert
Invert FX swaps inside/outside behavior.
Controls: Radius · Smooth · Push X/Y/Z · Rotation · Scale · Opacity · Blur · Tint
Follow
Layers trail the driver with increasing delay (snake/ribbon motion).Supports: Position / Rotation / Scale / Opacity Reverse flips delay order. Random randomizes delay per follower. Ease controls exponential delay spread.
Controls: Delay · Reverse · Random · Ease
Scatter
Layers burst outward from one or more center points. Supports multiple drivers for complex patterns.Controls: Radius · Amount · Randomness · Smooth
Mode Overview
| Mode | What Happens |
|---|---|
| Weave | Layers part open as the driver passes through — like splitting the sea |
| Repel / Magnet | Layers flee from or rush toward the driver within a radius |
| Field | A circular zone that transforms anything inside it — blur, tint, scale, rotate |
| Follow | Layers trail the driver like a snake — each one delayed behind the previous |
| Scatter | Layers burst outward from a center point |